Get Crafting with a Cricut Cutting Machine
I had collected basic punchers and other cutting tools. They are great in adding elements to your projects. Other than being limited to the size and designs of the cutouts, as to what is available, it can get bulky with storing, when collecting more of them. Hence, my ultimate wish list at that time, and to ultimately replace said tools, was getting a cutting machine, adding it to my crafting arsenal. There are several brands that have similar capabilities, but after doing a lot of research and comparing, I finally decided to get myself this Cricut machine.
SO, WHAT IS CRICUT?
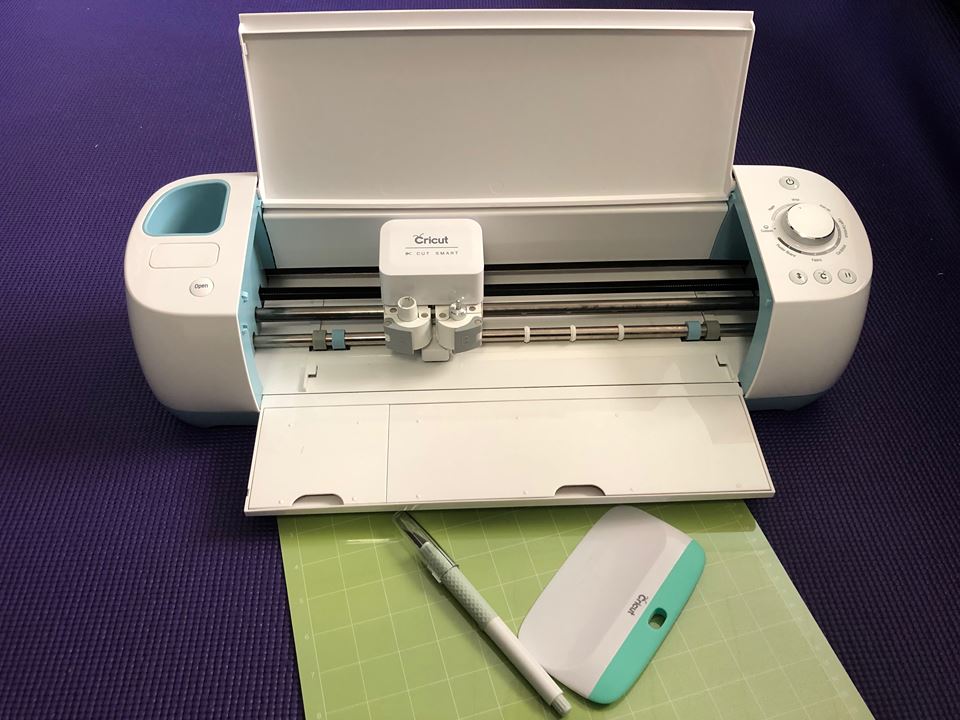
Cricut is a brand that is popular for their line of products of smart cutting machines. The Cricut Explore Air has the capability to write and score, in addition to just cutting. From thin tissue paper to heavy chipboard, there are over a hundred materials it can cut. It also has the bluetooth connectivity function, so you don't have to depend on a cable connection to your computer.
Here you will find the comparison of the available Cricut cutting machines, as to all the features each one has. I can only share my experience about the Cricut Explore Air as that is what I own right now. If I really need to get a replacement, a backup or just an additional machine, I would get the Cricut Maker. For now, my Cricut Explore Air is already more than sufficient for my cutting needs as of the moment. It was their latest machine when I got mine around towards the end of year 2015. So, yes, this machine is still working!
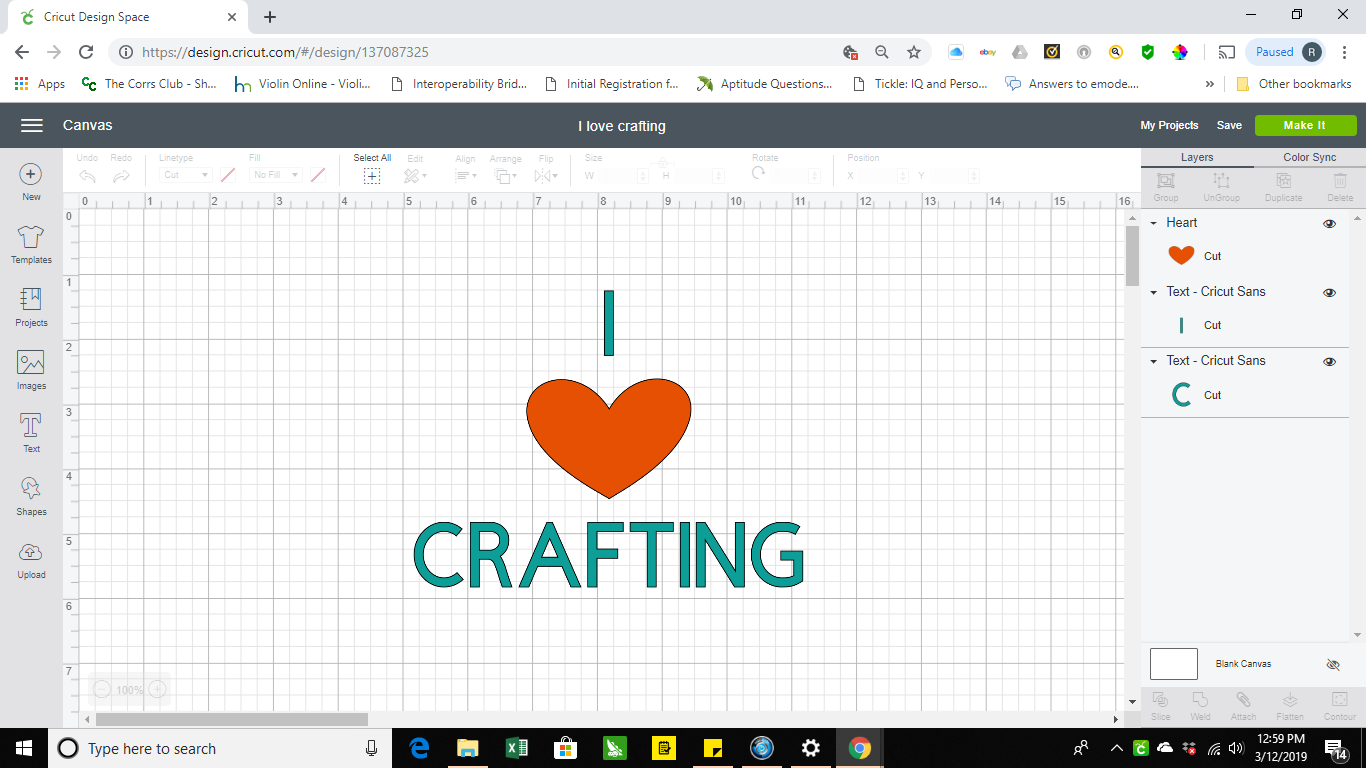
DESIGN SPACE
Design Space is the command center of these cutting machines. This is where you can create designs from scratch, upload your own image, or choose from a library of ready make projects or images and fonts to use. They have a subscription service which is called Cricut Access, which allows you to use fonts and images for a monthly or yearly fee. There are perks to the subscription as well.
PROJECTS I MADE WITH MY CRICUT
As long as you know the capabilities of the machine, only your imagination is the limit. These are only some of the projects that I made using my Cricut. Check out the full list of projects I made in the gallery section. Stay tuned on separate posts of any step-by-step tutorial. I might even add a video!
FOR PARTIES
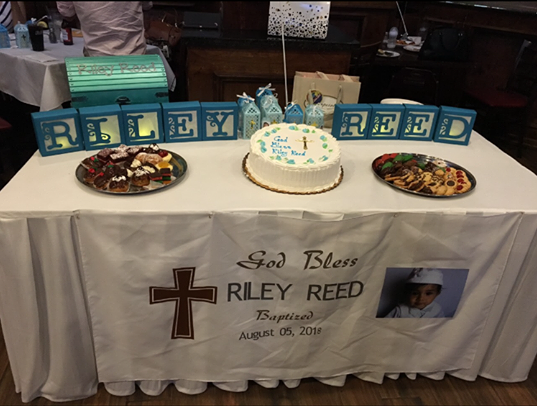
This picture was taken on my oldest son's Baptism party. Excuse the wrinkled banner (should have brought an iron). It is just plain white cloth and the letterings and cross are made of regular vinyl. The letter box lamps are made of heavy cardstock and the letterings on the treasure chest are made of faux leather.
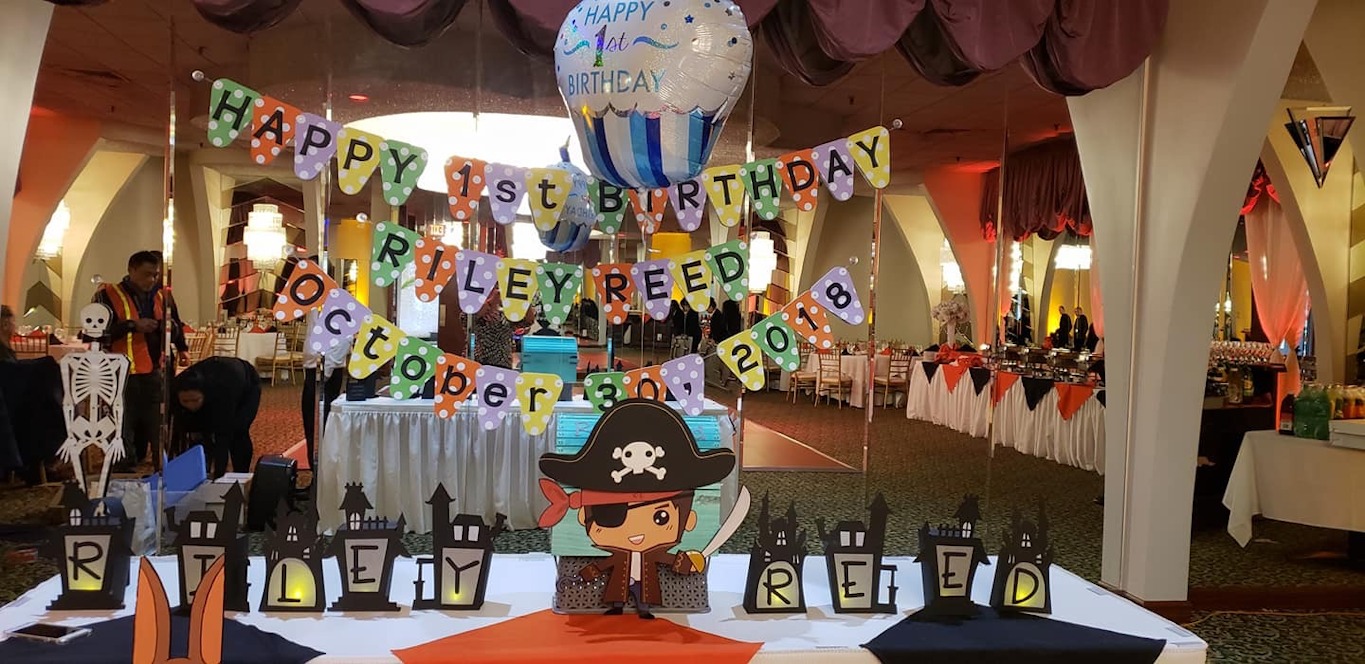
This one was on my son's first birthday party. The banner and haunted house letter lamps are made of cardstock.
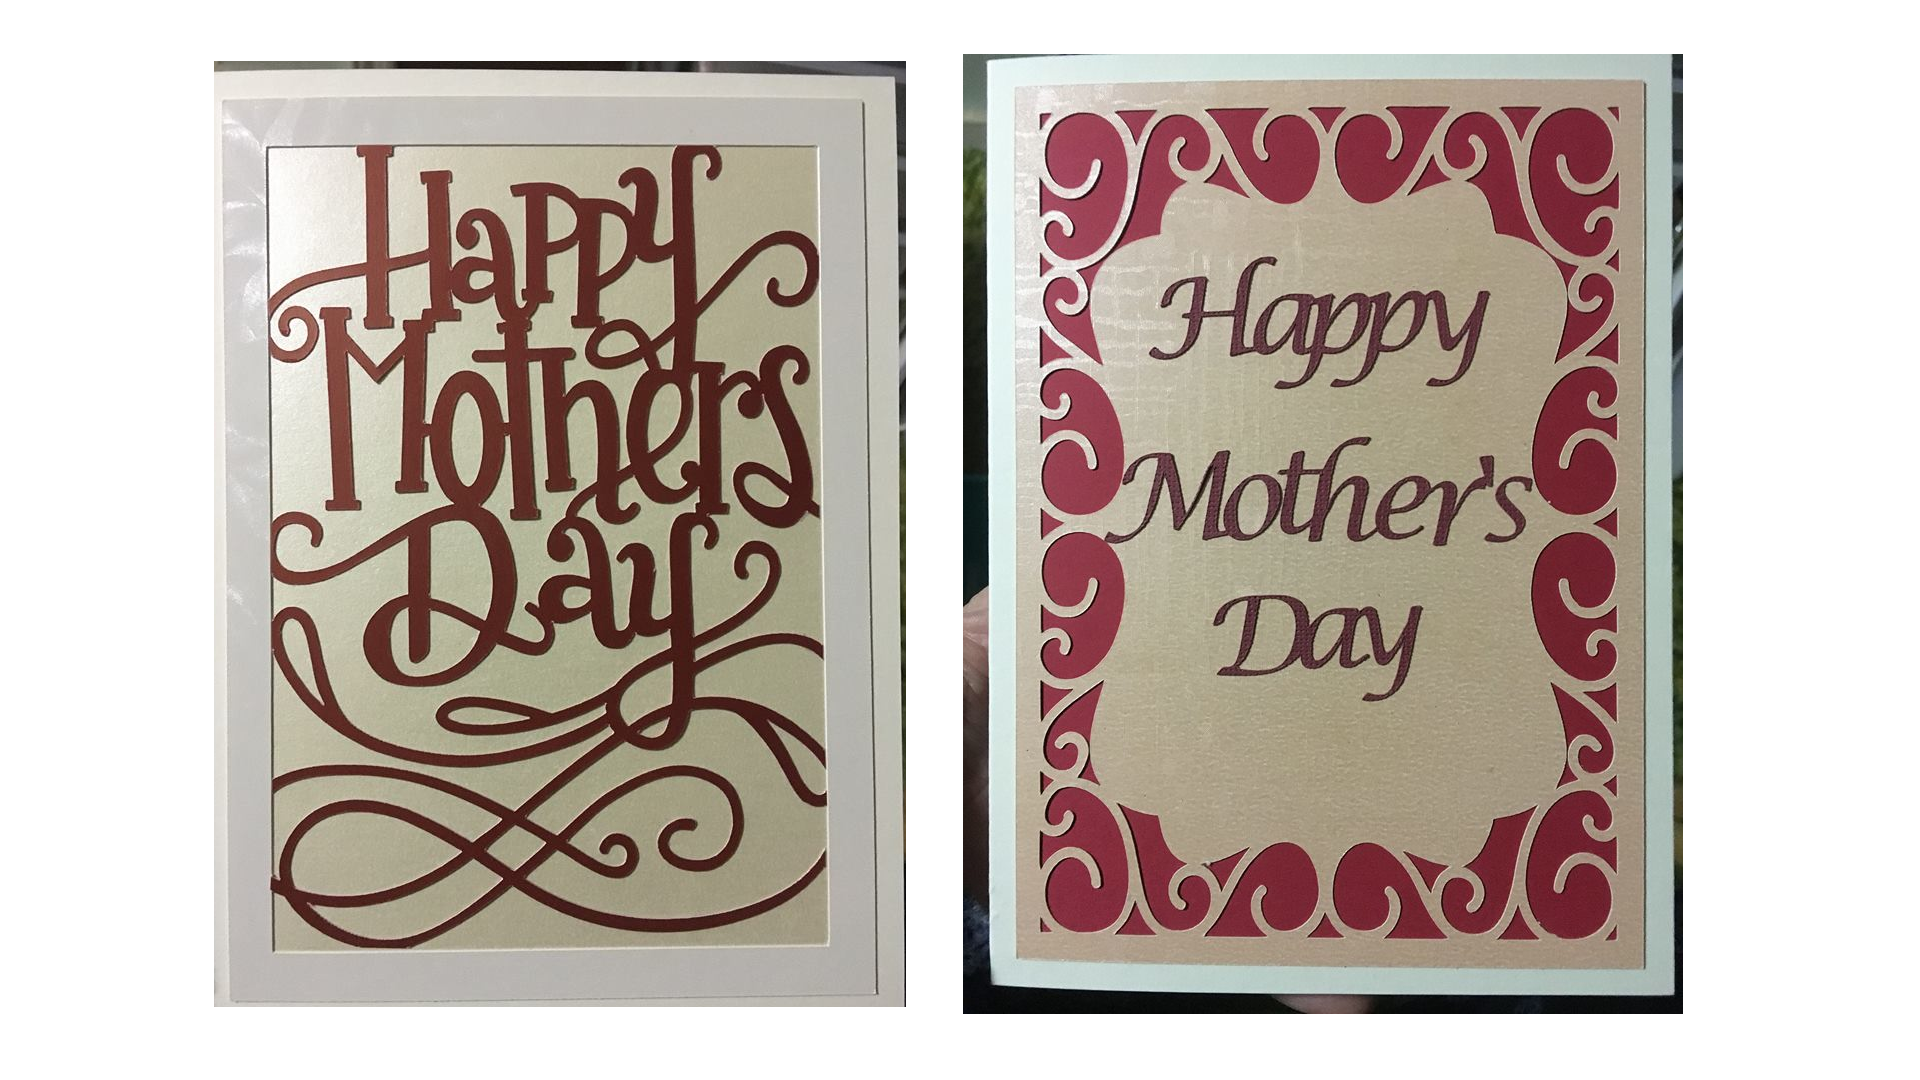
CARDS
The Cricut makes it quick and easy to create beautiful greeting cards. Look how detailed and crisp the cutting quality is.
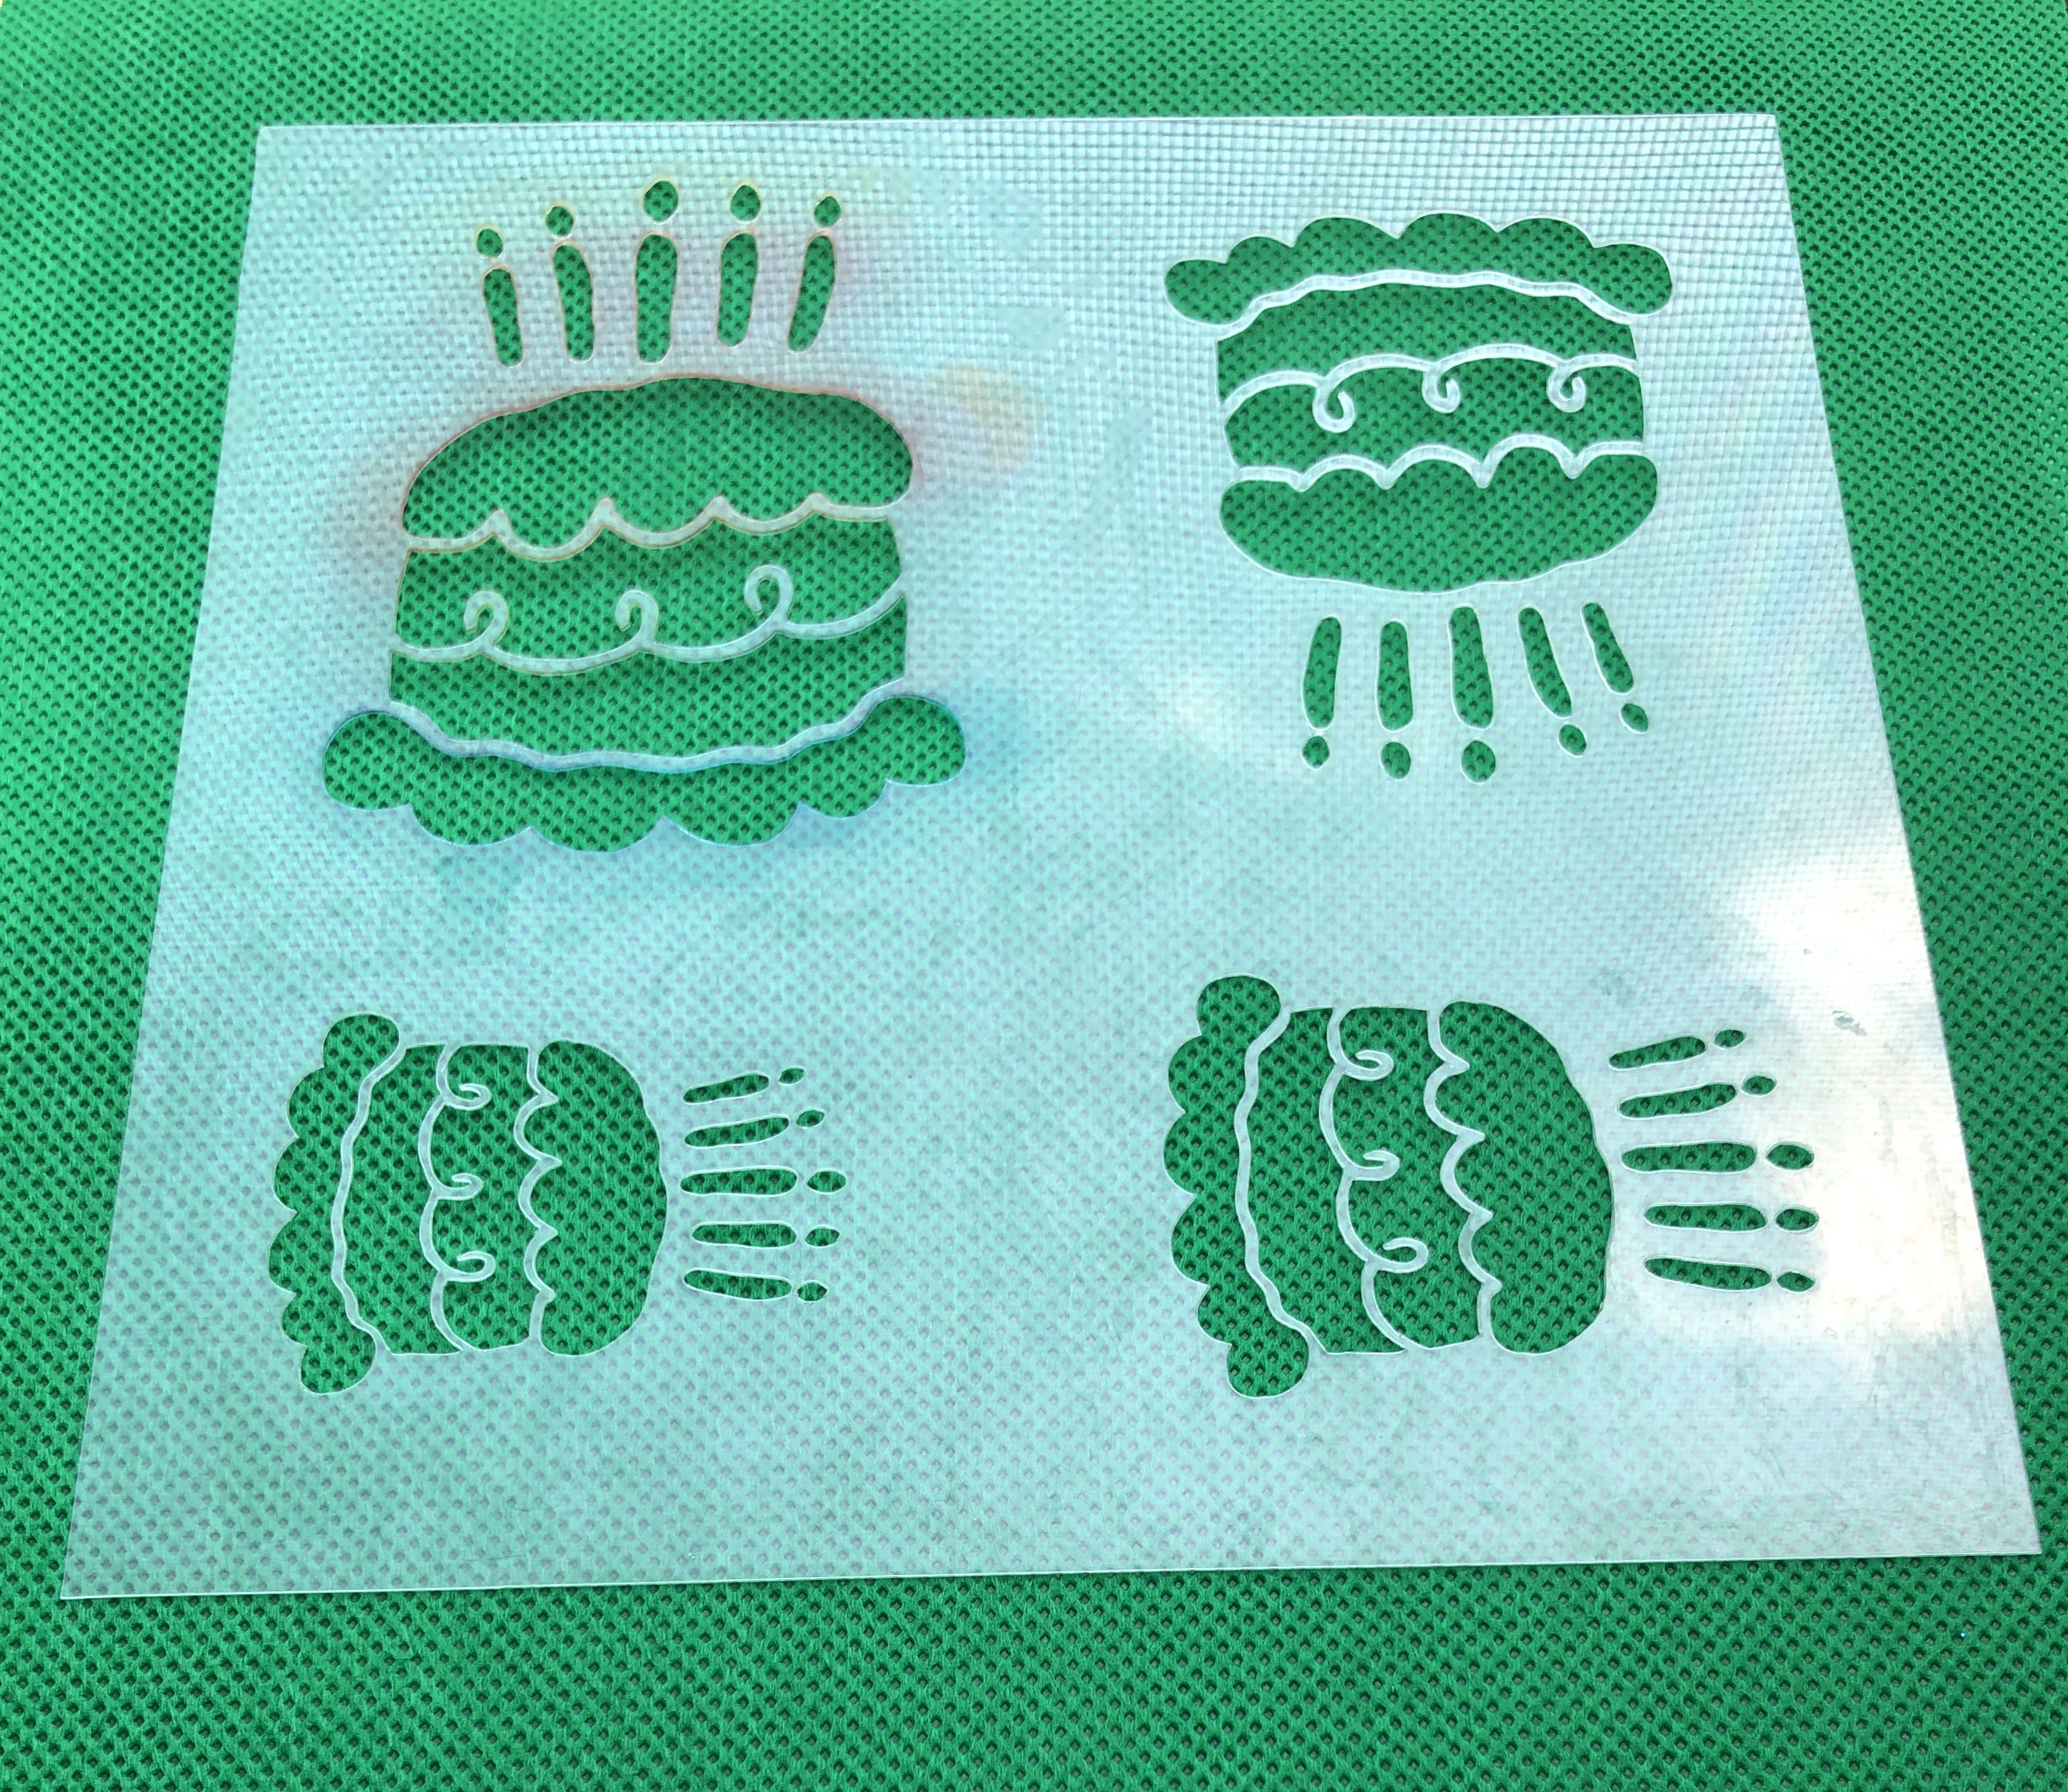
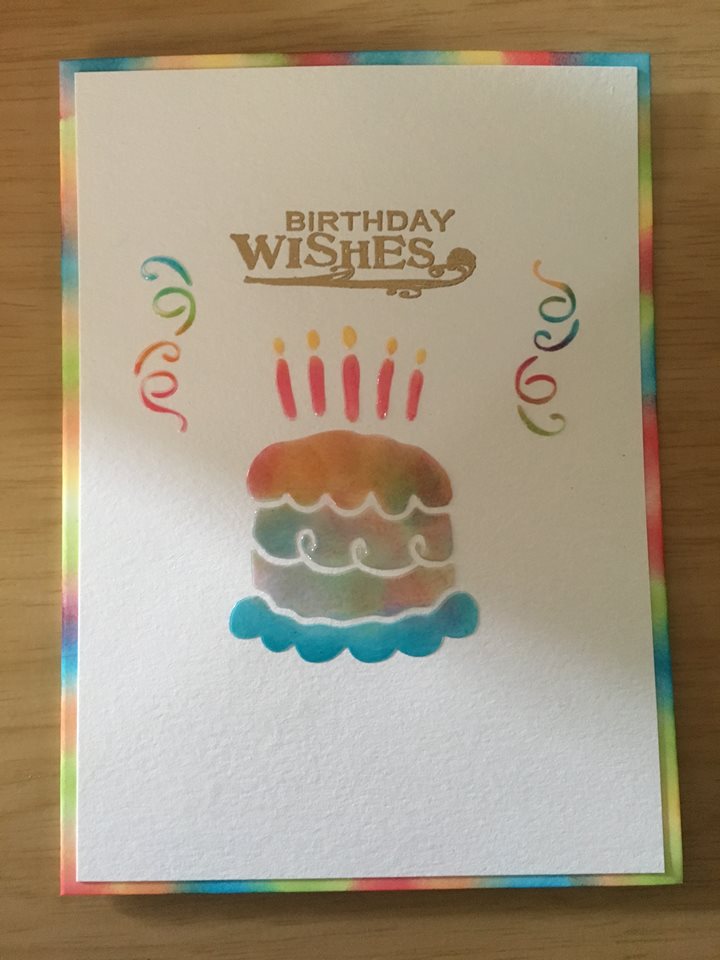
STENCILS
I love using stencils, but the cost of buying them will add up, especially when you use them more often. With the Cricut, not only can you make them really cheap, you get to control the size of your image. The material that I used in the image below is the clear craft plastic
ORGANIZING / LABELS
I am crazy about organizing, but without labels, I'll have to peek or smell (in the case for shampoo or other liquids) without guessing what's in the container.
I made DIY whiteboard pads, it's just my preference. Keeps everything separate.
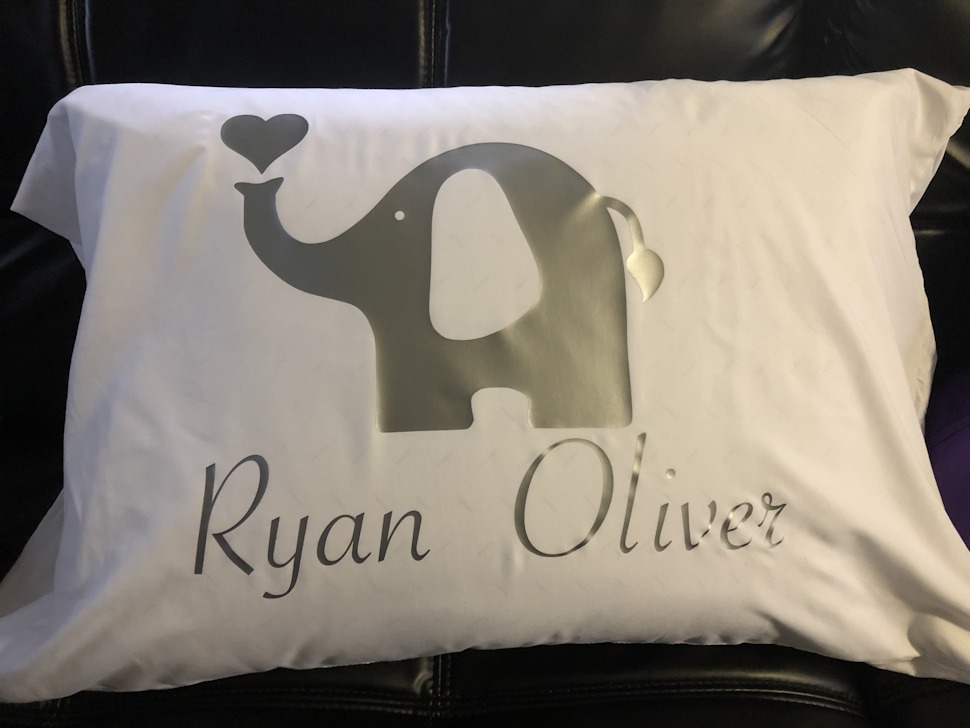
TEXTILE PRINTING
You don't need the old method screen printing when this can be achieved by cutting HTV (heat transfer vinyl) or Iron-on.
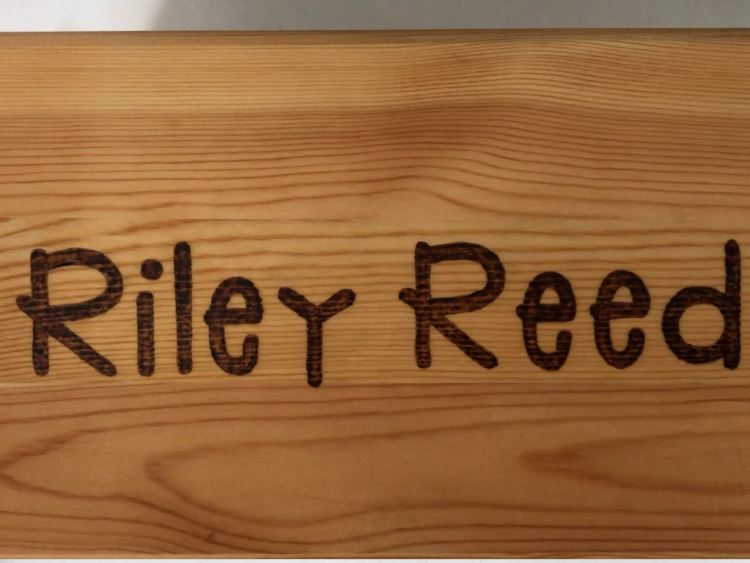
WOOD BURNING
This is the top view of a wooden stool. I used the write feature for the outline of the letters, and made it as a template. I then traced the image to the wood, using tracing paper in between. I used the wood burning tool to trace the outline first then filled the spaces.
DO I USE DESIGNS AND FONTS OUTSIDE DESIGN SPACE?
Definitely. There are several sites where you can find beautiful designs and fonts, they almost look identical. When it comes to creating a project, I try to keep the costs low. Design Space elements costs are fair, but they can add up. So far, all of these sites offer free ones for a limited time. They have a free section.
ANY TIPS?
I do have some tips for you, to save you on heartaches and materials.
- Save your project. I lost several projects after spending so many hours working on it, only to get an error after hitting save when it was already done. Just click 'save' and do it more every so often. This is when sometimes I feel like I have a love-hate relationship with my sidekick.
- Do a test cut. Use a scrap piece of the same material or cut at a far corner, with a small shape. In this way, you will know if the setting on a material is the right one. Usually the settings in Design Space is on point for their own proprietary materials. So, for other materials, all the more, a sample cut is highly recommended.
- Keep the mat cover and label which side touches the mat. To preserve the stickiness of the mat, save the cover.
- Clean the mat. The build up of tiny fragments will lose the stickiness of your mat. So definitely clean after each project when you can.
- When doing iron-on projects or projects requiring a reverse cut, don't forget to toggle the iron-on button.
So many smart tips, but these are mostly what I want to focus on for now. As you keep using your Cricut, you will be able to add more tips for yourself and for others.
CONCLUSION
I am really happy with my machine. It is so worth the purchase and I am so excited to experiment on what other creations I can do with this cutter. There are still too many projects for me to try as well, and that's why I agree it has endless possibilities. If you find yourself constantly thinking of what project to make next, the Cricut is definitely your partner in your creativity.